
Are you looking for more ways to photograph beauty and skincare content? I know I’m always looking to change up my photos and challenge myself to step outside of my usual comfort zone. Recently, I received a VoxBox full of new beauty and skincare products for me to test and I figured I would take you all along my journey of creating and batching photos for the brands + Influenster.
Side note: Influenster is a free site that gives you the opportunity to receive full sized products for testing purposes. It requires you to review the products you receive along with other tasks.
Stick around til the end for a few simple tricks and poses I use when creating content for brands. I’m so excited to share – here we go!
Posing Ideas To Try
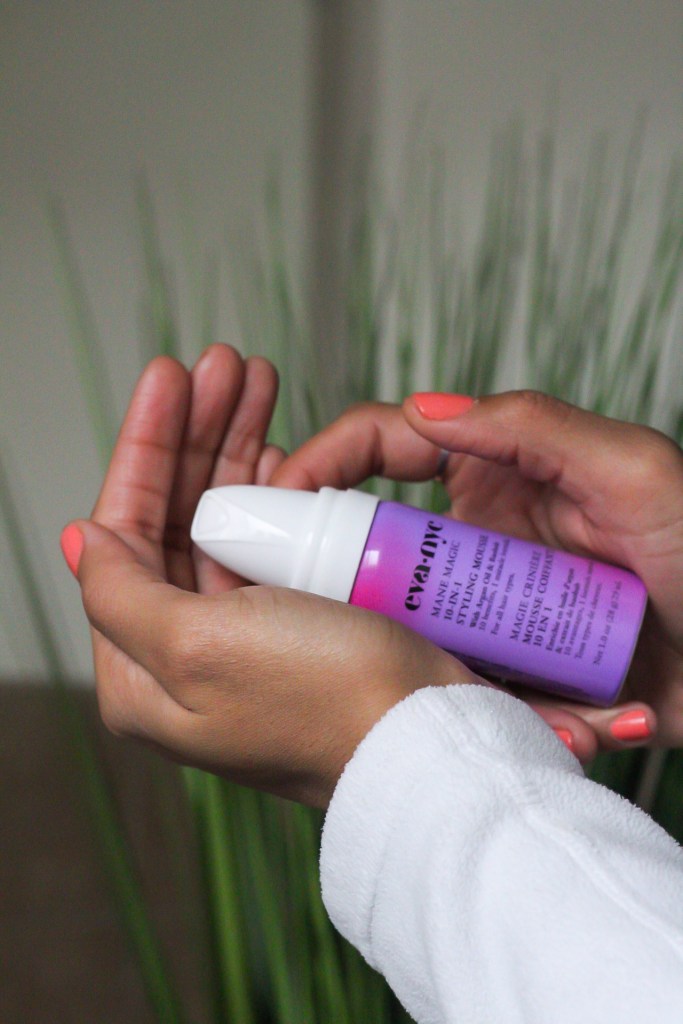
Up-Close Shot of You Holding Product: Blurred Background
Make sure to include a clean background, to keep focus on the product. Having a lens with depth could also help make your image look better, but it’s okay if you don’t! I love throwing a plant in the background to add a splash of color and keep a pleasing aesthetic.
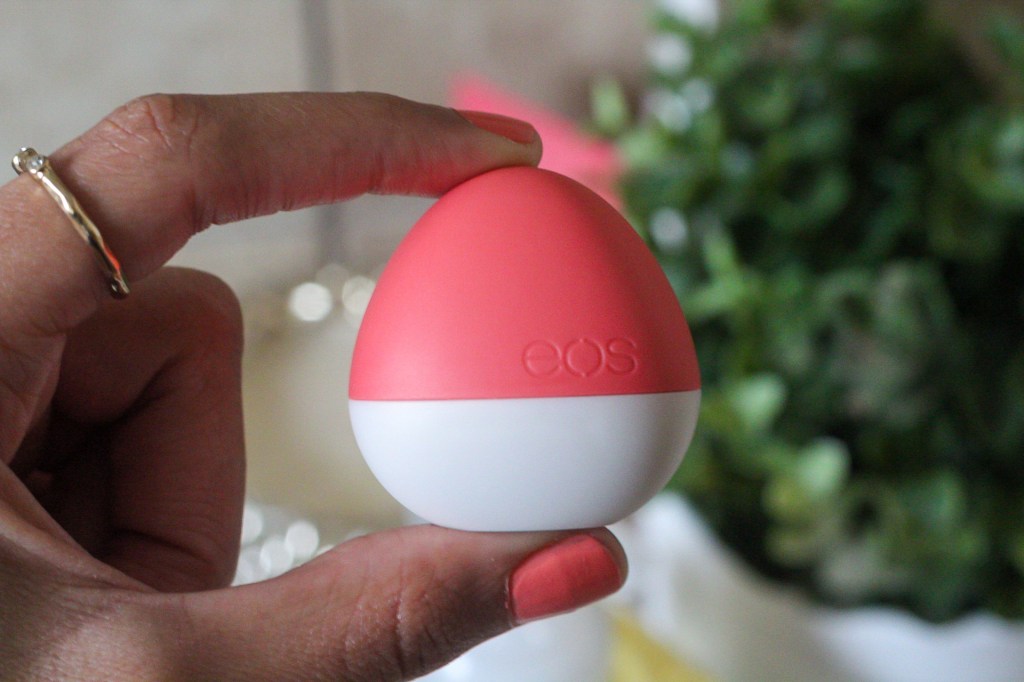
Holding Product and Smiling
Whether you’re looking off in the distance, at the product, or the camera itself this pose typically works well for anyone. I like to have fun with this pose and try smiling in different spots to see what works best for my situation. I set up shop for most of these photos right in my apartment bathroom and I was pleasantly surprised at the lighting and how well everything turned out – never be afraid to shoot in the comfort of your own home!
Focusing Lens on Product While Holding Product
For this pose it’s best to use a camera lens with depth as well for a more professional, clean shot. Holding the product out in front of you while smiling is easy and if you have the right lens, you can easily cover up your face or blur it out.
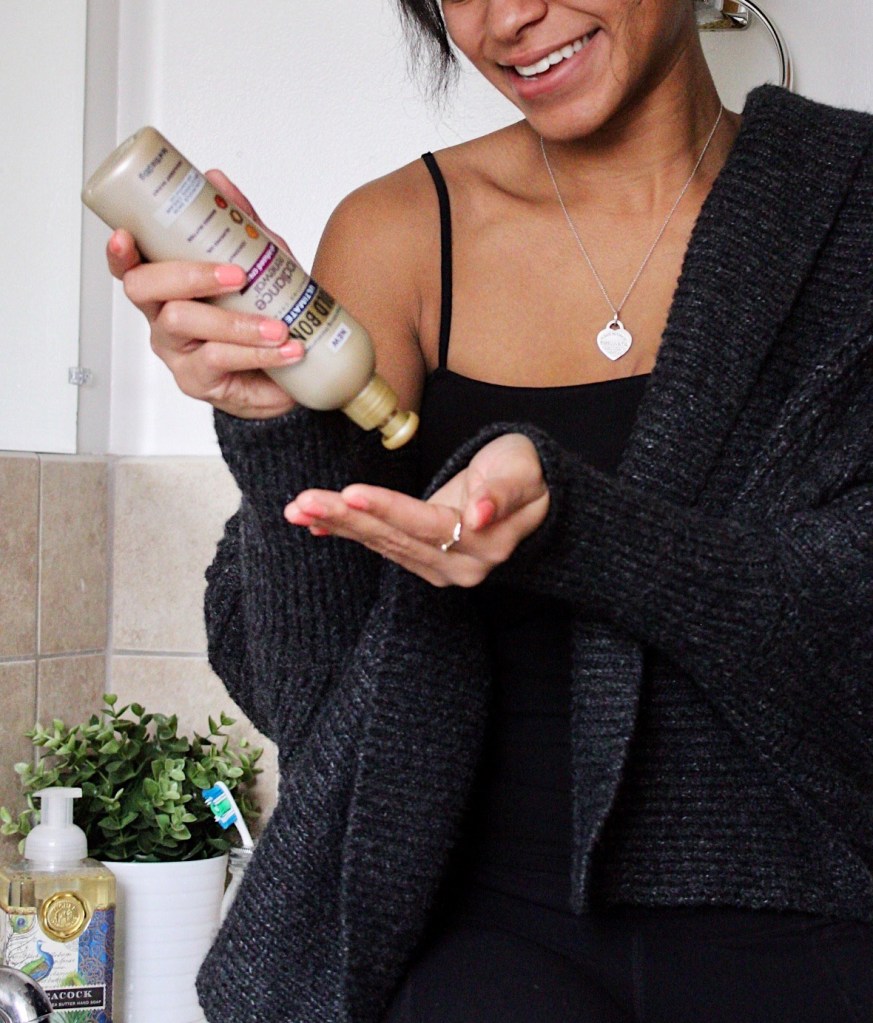
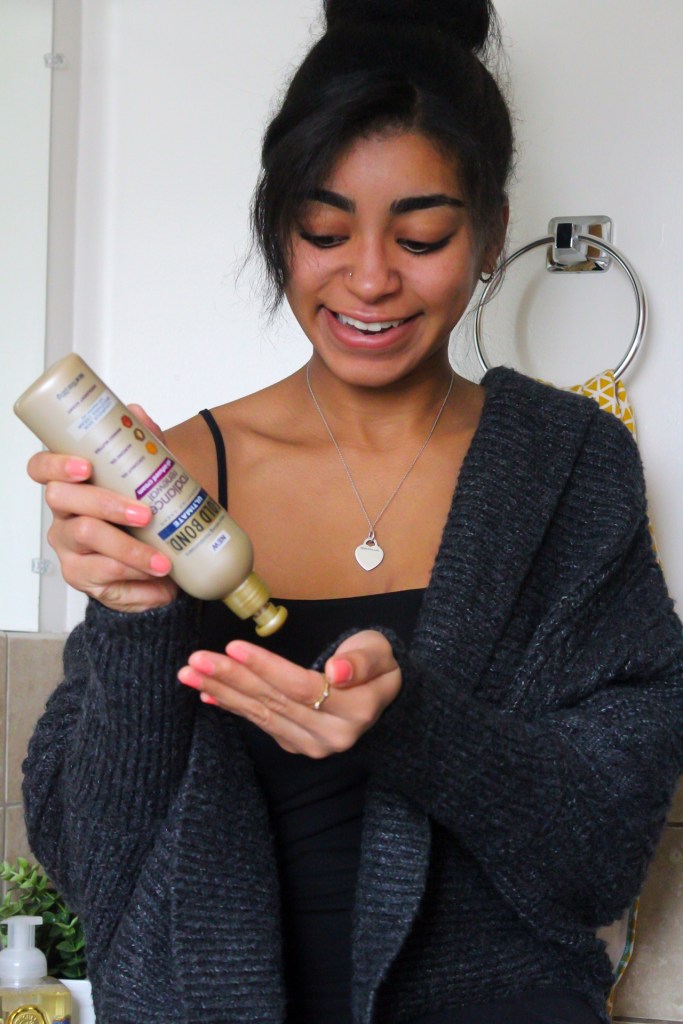
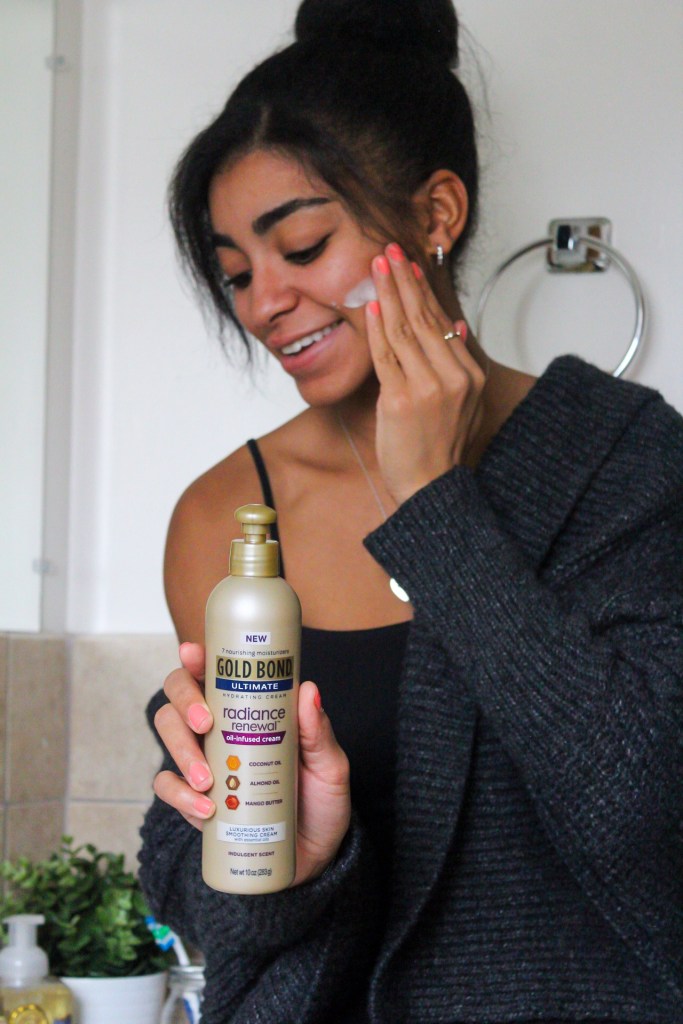
Physically Applying Product
This pose gets right to the point and is more direct in my opinion and easy to achieve. This pose also creates more natural shots which is my favorite. Seeing someone physically apply a product also makes me feel more comfortable purchasing in a way. The background doesn’t need to be blurred, but for this example it will be for more focus on the product itself. Give it a try and don’t forget to smile!
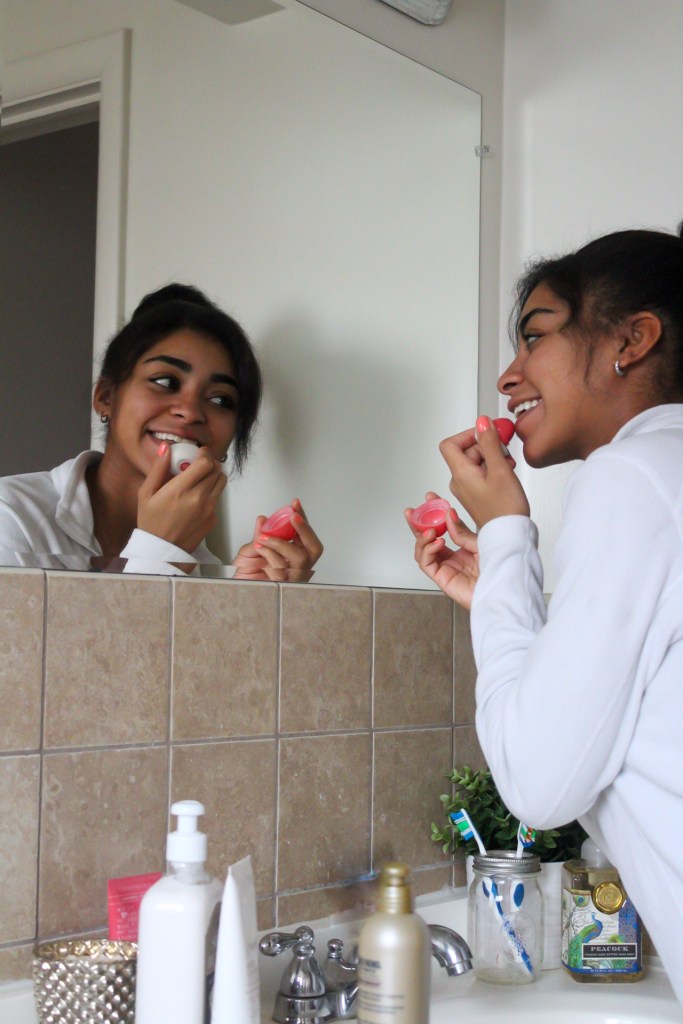
Applying Product in Mirror
Try to pick a focus point between the mirror shot of your face and the physical face/body. This shot is challenging for some but make for great natural shots. My advice for this pose would be to literally act natural, but make sure to smile while applying the product to your skin! Looking on Pinterest for more also helps if you find yourself needing more inspo for how exactly to pose and where to look for the right shot.
Other Tips + Advice
- Cropping isn’t always a bad thing. If your shot holding a product looks better from the nose down and you’re not feeling it, crop away!
- Plants/greenery are your bff! There’s nothing I love more than adding a flare of color or simple aesthetic piece to my shots. Potted plants are easy to move around and place on top of things, etc. I got most of my faux plants from IKEA and Home Goods.
- Bathroom shoots can sometimes work out better than you’d expect! This was my first time shooting with my DSLR camera in my bathroom, so I truly had no idea what to expect. I ended up winging it and my tripod ended up halfway in my bathtub and the other half on the tile of the bathroom floor to get the best lighting and right angle. Maybe I’ll share some BTS (behind the scenes) shots in a future post, but it was a great turnout if you ask me!
- Plan outfits the night before shooting (yes, multiple outfits)! Just like the importance of backgrounds, I preach the same for outfits. Picking out a few outfits the night before won’t hurt when you have content batching to do the next day – you will thank me later! Outfit changes will also help your photos look different from one another and you will be able to spread out your content.
- Utilize VSCO and LR Mobile. I pay $4.99 for LR Mobile and it helps me more than I could’ve ever imagined. I use the healing tool and selective tool a ton! These tools help me eliminate eye sores in my images and give me the finishes I love. VSCO is a great app for adding color to your photo and finding tons of filters for a cleaner, more cohesive feed/batch.
Well, that was fun! Whether you came here for inspiration or a quick read, I hope you enjoyed.

Happy creating,
Toni

Leave a comment